I have painted the exterior woodwork, fitted a Chubb 5-lever lock to the door, along with a temporary door handle and some very nice old-school door stays. I've fixed the downpipe from the gutter in its permanent place above the water butt, which is on brick pillars that I have built this year. And there is a new "hangover" at the back; it's a canopy along the rear wall made of carcass timber and pvc translucent sheet. Not entirely sustainable construction, but it had to be lightweight, and makes a more useful space for letting the light in. I now have a 1 X 8 metre dry storage area behind the workshop. Ideal for lime mixers, bicycles, ladders etc.


And, on several days spread through March, I have been working with my clay. I bought a ton of clay in the autumn, and put it in a bale pond for the winter in the hope that it would soften. It didn't. I suppose the soft parts of the clay got a little softer, but there was no noticeable difference in the broken clay crust that was distributed thoughout. There were also pieces of carr stone in it.
This is not a complaint. It was sold as "Engineering clay", £15 a ton, and is a waste product from a quarry near Kings Lynn. It's dark grey in colour and very sticky.It's going to be great if I can get it wetter, and get the lumps out or break them up, but it wouldn't be easy to work with in the condition it arrived in.
By the last of the 6 or 7 days I spent getting the clay ready, I arrived at the optimum method, which I will describe it detail in case you plan to do something like this. Dress in wellingtons and, ideally, some cheap waterproof outer layer that you no longer treasure i.e. waterproofs that you have replaced but not yet thrown away. (You will get wet, and muddy, but only the water will penetrate to the layers below.) Also some heavy duty pvc gauntlets.
Get in the pond with a spade and start treading your way systematically through the clay. When you feel a lump beneath your feet, hold it with one foot and slice it up as small as you can with the spade. If you feel or hear that it is a stone, not a lump of clay crust, then fish it out by hand. Tread and squash the slices of hard crust carefully.
Then shovel the nearly-lump-free clay into the forced action mixer, beat it up well for at least 30 minutes, adding more water gradually until you reach a creamy consistency (i.e. like double cream).
Now for the fun bit. Place a large OSB board under the mixer outfall. Instead of letting the mix out into a bucket or wheelbarrow, let it drop into a supermarket wire basket. Press the clay through the basket with your feet, occasionally removing any remaining stones or lumps. You will now have, on the OSB board, some relatively lump-free clay with a wonderful, creamy and very sticky consistency.
I shoveled it into my 32 recycled lime putty pots, ready measured for cob mixing. Then I put the residue into several buckets, bowls and dustbins. I finished the preparation and took the pond apart two days before the clay plastering started.
Sadly, there is no coherent record of this solo struggle against the elements, or "element" I suppose I should say. Even with gauntlets on, my hands were cold, wet and muddy most of the time. At times, especially after washing equipment, I looked as if I had fallen face first into a clay slip pond. Anyway, here's a few pics:


I also found the perfect way to chop up some straw for the cob mix:


Our straw bale industry leaders, Straw Works, have recently set up the School of Natural Building. This has been a fortunate turn for me because there are now a numbers of new trainees (SNaBs) who are looking for some work experience of various building skills, including clay plastering.
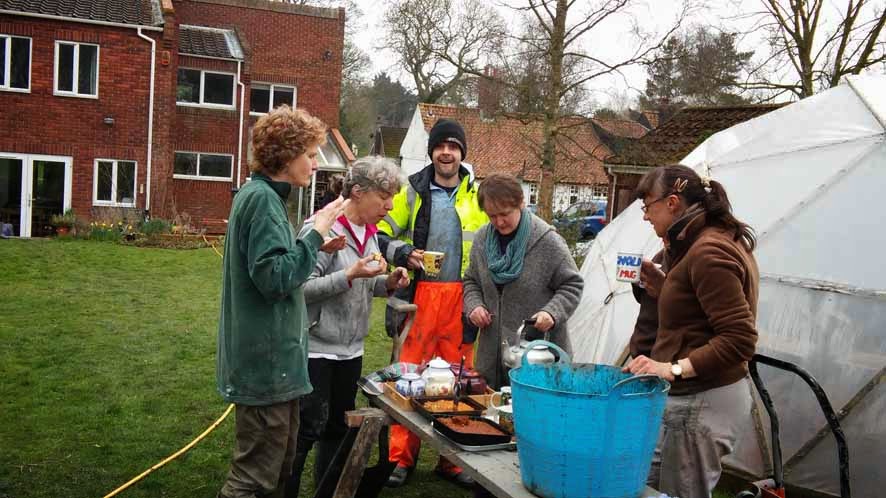
And here are a few of them. Rachel, Josh and Sophie gave me a hand for a couple of days, Guy was here for three
 |
| SNaBS Rachel, Guy, Sophie, Josh and me. |
Plus POOSH friends Martyn and Lil from Beccles. I helped with their build in 2013, and they are here to reciprocate and see if I have been keeping standards up:


I did some clay tests with different mixes, but they were not dry when we started the main work, so they did not yield any useful information.

I thought I might recycle the cob samples, but I was unable to prise them off the bales - so that was encouraging.
I had a big gang of local friends here on Good Friday, all new to clay plastering. It's not all about getting the building built - it's worth spending a little time introducing some people to the joys of clay.(Sorry: not everyone got in the photos. Gloves, muddy hands etc.)


Not many good photos of clay being applied to the walls, are there? I've plenty more of happy cobbers dancing around on tarpaulins and eating cake.
We put two coats on. The first coat, the slip coat or revealing coat was watered clay slip, rubbed into the bales. On the foamglass blocks on the plinth, we covered the surface with clay then rubbed some long straw on to it. There was then a certain amount of hole-filling and building up with a mix of long straw and clay. The second coat, or body coat, was 1 part clay to 3 parts sand (sharp and builder sand mixed) to 1 part chopped straw. We used about two tons of the body coat..
I am not intending to add a third, finish, coat, although I probably would do so if this was my living room. I troweled all surfaces smooth, but have still left some bumps and hollows, that seem to arise from imperfections in bales, design or building method. I found a wooden float with a curved end the perfect tool for this; handle off a broken float plus a piece of ply cut to shape.
The plaster inside was 95% done by the end of the fourth day. Good work everyone! I finished off - slowly - over the next three days.
Thanks to everyone who came to help on this project. There are a few more pics of the last few days below.


