I have decided to make it with "Cundy poles". These are softwood poles, possibly forestry thinnings, that have had the bark removed by machine. The diameter is variable, and they are not absolutely straight, but they look strong, durable (they are generally used as stakes in the ground) and smooth enough to support a tarp without damaging it. They are also much cheaper than machine-round poles.
I've bought 80 poles of 2.4 metre length.

For each of my dome struts, I took a 2.4 metre pole and a couple of 20 cm steel straps, cut from longer sections of builder's strap.

Then I cut a slot in one end, 3mm wide (same as the strap) and 150mm long

Line up the strap on the pole with 3 holes projecting. Mark through 3 of the the other holes for drilling positions:

Keep the pole horizontal, keep the drill vertical

Drill out the pilot holes to 6.5mm

Five poles ready for assembly

The tricky bit: push, or quite often hammer, some 6mm coach bolts through the poles engaging the holes in the straps on the way. No problem, as long as those drill holes all went through parallel

The poles I used have variable diameter, so I had a selection of bolts: 75mm, 100mm, and 100mm all-threaded. Long ends like these ones got cut off with an angle grinder

Then, you do it all again on the other end of the pole. I'm using a jig here, a piece of 6x2 with two nails sticking though upwards, and they were 216 cm apart for the long struts, and 191 cm apart for the short ones. I've already cut the pole to length, and I'm marking up the drill holes on the second pole end to get the strut length (measured between the outside holes in the steel) accurate.

I made 35 long poles, 30 short poles so this was quite a long job: 130 steel straps, slots, 390 bolts
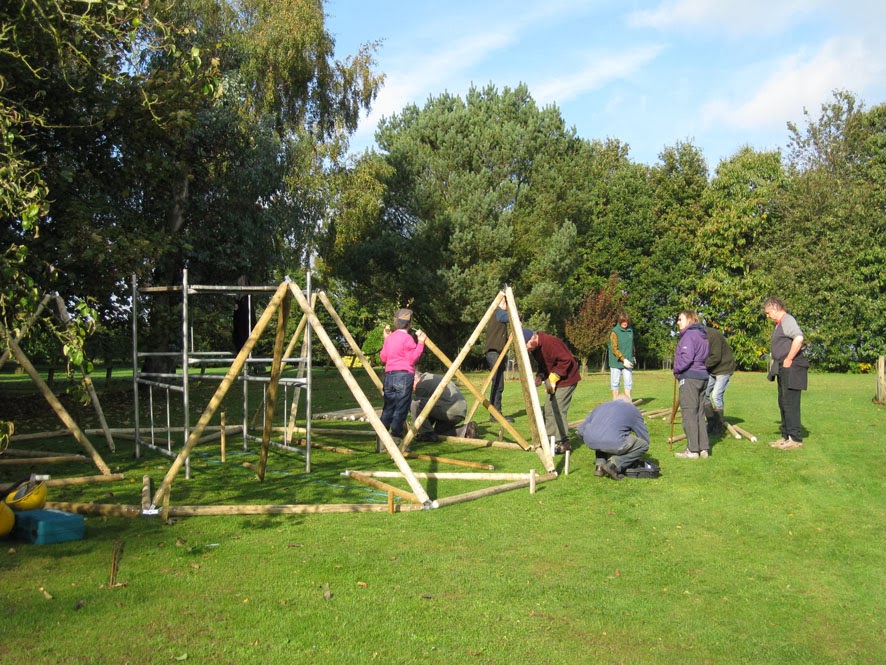
Construction, with a little help from my friends.
( I was hoping to have a time-lapse video here, but my camera wasn't up to it.)
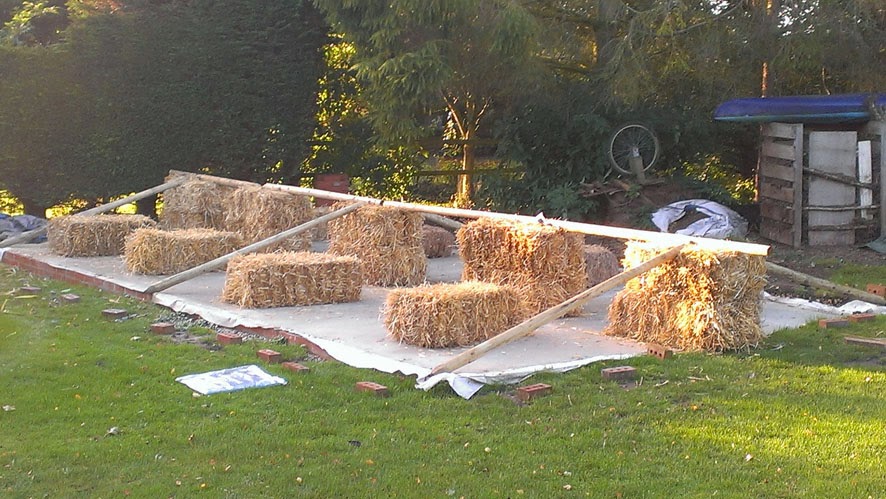
So, in early November I had all the parts made and a 7 metre circle on the grass. I'm not going to give you the How-To-Put-It-Together instructions here, just show you some photos, maybe mention some of the issues that came up. It was a great thing to do as a team. I asked eight friends to help, expecting around half to come, but on the day I had seven; eight including me. And they were all needed! There was plenty to do.
We put 10 poles around the base, then joined them up. Next: - the Teeth. Five equilateral triangle constructed on alternate base struts. Each "tooth" is propped with a spare strut for now.


Keeping the props in place, we fill in the gaps until the first level is complete.


Scaffolding platform was essential for the next stages. We are completing the five base pentagons

These are around 3 metres high, and in the absence of any 3-metre props, they are supported for now by ropes on the outside.


Completing the second level. It was necessary to adjust the rope supports to line the joints up

Second level complete!


Happy man! Everything has come out dome-shaped.


Many thanks to Jim, Westie, Sandra, Malcolm, Toby, Andrew & Jess. Great fun, no accidents and a very sturdy-looking dome. Also to Moira, Jean and Chris for "support services" and photography
There was a gale forecast for the evening, so the original idea of getting the tarp on whilst everybody was here had to be scrapped.